
Ready to fix a buckled car hood? Assess the damage first. Gather tools and loosen hood fasteners. Position support braces for stability. Apply gradual pressure to straighten the metal. Check alignment and secure the hood. Test its functionality. Finish with touch-up paint and wax. Inspect for any rust. For a more detailed guide on each step, there's more to learn about fixing your hood effectively.
Key Takeaways
- Apply heat to soften metal for manipulation and use a rubber mallet for gradual pressure.
- Consider professional help for large buckles; DIY small dents with proper tools.
- Inspect for paint damage and scratches; touch up paint after repair.
- Use support braces for stability; reinforce with sturdy materials for even weight distribution.
- Verify hood functionality and alignment; adjust hinges if needed for proper functionality.
Assess the Damage

Assess the damage by carefully examining the buckled area on your car hood for any visible dents or creases. Start by inspecting the extent of the damage to determine the best course of action. Small dents or creases may be repairable through DIY methods, while larger buckles might require professional assistance.
Look for signs of paint damage or scratches as well, as these may need to be addressed during the repair process.
Once you have assessed the damage, consider your repair options. For minor dents, using a rubber mallet or plunger to gently push the buckled area back into place could be a viable solution. Alternatively, specialized tools like a car dent puller or suction cup may also help in restoring the shape of the hood.
However, if the damage is significant or if you're unsure about handling the repair yourself, seeking the expertise of a professional auto body shop is recommended to make sure the hood is fixed correctly.
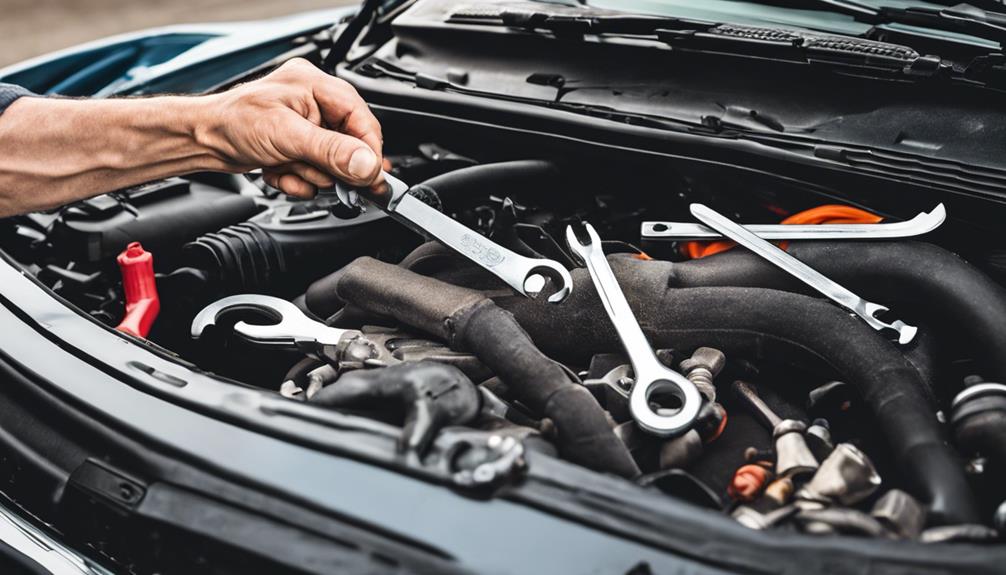
Gather Necessary Tools
To fix a buckled car hood, gather the necessary tools before proceeding with the repair process. Safety precautions are crucial when working on car repairs, so make sure to wear protective gear like gloves and safety glasses.
Common mistakes when fixing a buckled hood include using improper tools or techniques, which can further damage the hood.
For a DIY fix, you'll need tools such as a rubber mallet, a heat gun, a block of wood, and a pair of pliers. The rubber mallet is used to gently tap the buckled area back into shape, while the heat gun helps to soften the metal for easier manipulation. The block of wood provides support from the underside of the hood, preventing further dents. Pliers can be handy for adjusting any bent or misaligned components.
If you're uncertain about fixing the hood yourself, consider seeking professional help. A professional auto body shop can provide expertise and specialized tools to make sure the hood is repaired correctly.
Loosen Hood Fasteners
Before starting the repair process, the first step is to loosen the hood fasteners securing the hood in place. Proper hood alignment is vital in guaranteeing that the buckled area can be adequately manipulated and restored. Begin by locating the hood fasteners, which are typically located near the hinges or along the sides of the hood. Using the appropriate tool, such as a wrench or socket set, carefully loosen the fasteners in a counterclockwise direction.
Regular fastener maintenance is essential to prevent issues like a buckled hood from occurring in the first place. Inspect the fasteners periodically for any signs of wear or corrosion, and tighten them as needed to maintain hood alignment. By keeping the fasteners in good condition, you can help ensure that the hood remains securely in place and functions properly.
Once the fasteners are loosened, you can proceed with the next steps in fixing the buckled hood.
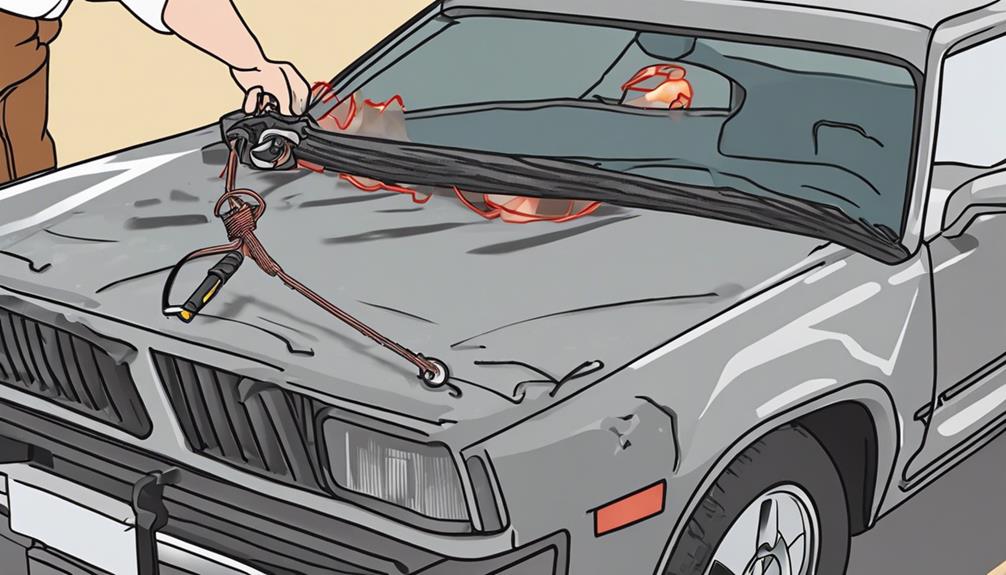
Position Support Braces
Position support braces underneath the buckled area of the car hood to provide added stability during the repair process. Proper support placement and reinforcement are vital in ensuring that the hood is adequately supported as you work on fixing the buckle. By strategically positioning the support braces, you can prevent further damage and facilitate a smoother repair process.
When considering bracing techniques, it's important to choose sturdy materials that can withstand the pressure needed to straighten out the hood. Reinforcing the braces with additional support where necessary will help distribute the weight evenly and prevent any potential collapsing of the hood during the repair.
The stability offered by the support braces is key to successfully fixing a buckled car hood. By ensuring that the braces are securely in place and providing adequate reinforcement, you create a safe and controlled environment to work on straightening out the hood. Take your time to position the braces correctly, as this step sets the foundation for the rest of the repair process.
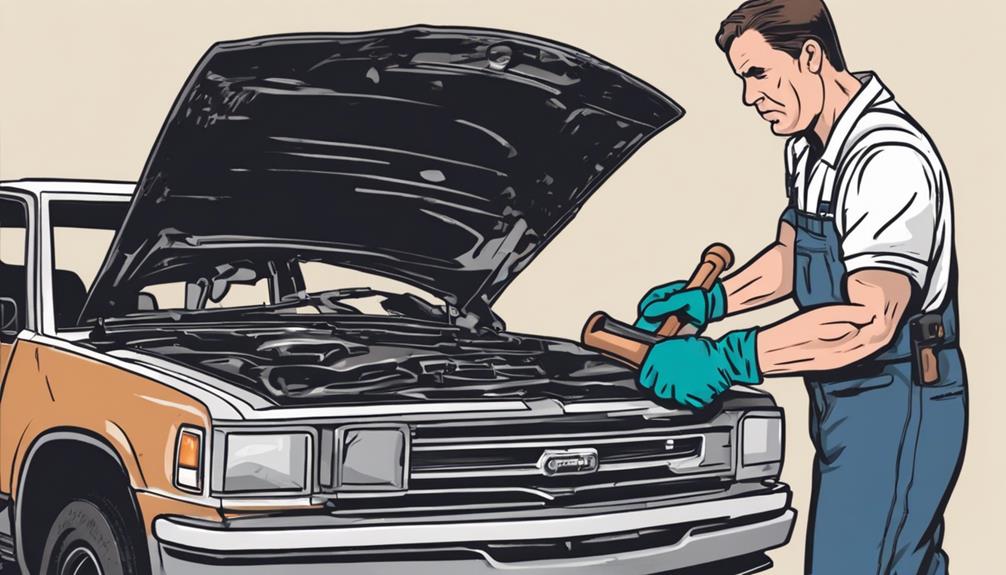
Apply Pressure to Straighten
Once the support braces are securely in place, begin applying pressure strategically to straighten out the buckled car hood. To start, consider using heat application to help soften the metal for easier manipulation. You can use a heat gun or even a hairdryer to warm up the affected area. Be cautious not to overheat the metal, as this could lead to damage to the paint or surrounding components.
When applying pressure, do so gradually and evenly across the buckled area. Use a combination of your hands and possibly a rubber mallet to gently push the metal back into shape. If the dent is shallow, you may be able to remove it entirely by exerting controlled pressure.
After straightening the hood, inspect the paint for any chips or scratches that may have occurred during the process. Touch up these areas promptly to prevent rusting.
If the damage is extensive or if you're unsure about your ability to fix it, consider seeking dent removal services or professional assistance for a flawless finish.
Check Alignment
Inspecting the alignment of the hood is crucial to make sure it sits properly on the car frame and aligns with surrounding panels. If the hood is misaligned, it can lead to issues with opening and closing, as well as affecting the overall appearance of the vehicle.
To make alignment adjustments, carefully examine the gaps between the hood and adjacent panels to identify any discrepancies.
For DIY repairs, you can attempt to adjust the hood alignment by loosening the bolts that secure it to the hinges, shifting the hood into the correct position, and then tightening the bolts back up. However, if the misalignment is severe or if you're unsure of how to proceed, it may be best to seek professional help to ensure the alignment is done correctly.
Remember to take safety precautions when working on your car hood, such as wearing protective gloves and ensuring the engine is off to prevent any accidents.
Proper alignment not only enhances the aesthetics of your vehicle but also ensures functionality and safety while driving.
Secure Hood Fasteners
To ensure the proper alignment of your car hood, the next step is to securely fasten the hood fasteners.
Properly securing the hood fasteners is essential for maintaining the structural integrity of your vehicle. Start by inspecting the fasteners for any signs of rust. Rust prevention is key to ensuring that the fasteners remain durable and reliable in holding the hood in place.
Regular maintenance of the hood fasteners won't only prevent rust but also extend the lifespan of your car hood.
If you have recently had custom paint or hood decals applied, it's even more important to secure the fasteners properly to avoid any damage to the newly finished surface.
Take the time to tighten each fastener securely, ensuring that the hood is properly aligned and securely in place.
Test Hood Functionality
How can you guarantee the hood functions properly after securing the fasteners?
Once you have secured the hood fasteners, it's important to test the functionality of the hood to make sure it aligns correctly and operates smoothly. Start by gently lifting the hood and checking for any resistance or misalignment. If the hood feels stuck or doesn't open smoothly, you may need to revisit the repair techniques applied earlier to address any underlying issues.
Next, lower the hood carefully and observe if it closes flush with the body of the car. Proper hood alignment is essential not only for aesthetic reasons but also for safety and aerodynamics. If the hood sits unevenly or doesn't close properly, you might need to readjust the fasteners or consider additional repair techniques to improve alignment.
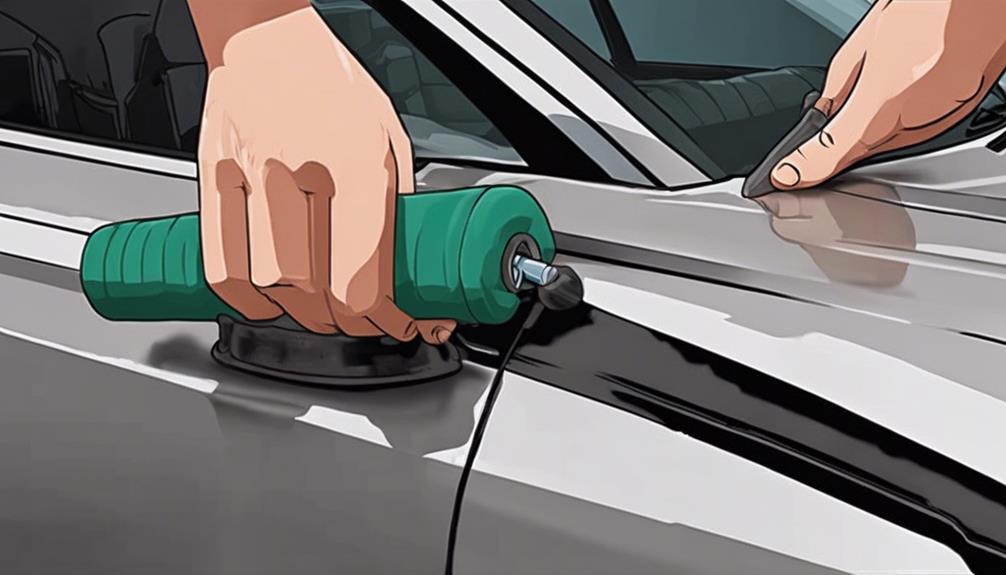
Final Touches and Inspection
Once you have verified the functionality of the hood, proceed with the final touches and inspection to guarantee the repair is complete. Start by addressing any paint damage with a touch-up kit matching your car's color. Apply the touch-up paint carefully to cover any scratches or blemishes caused during the repair process.
Once the paint has dried, consider giving the hood a wax finish to protect the newly painted areas and give the entire surface a polished look.
Next, inspect the entire hood surface for any signs of rust or corrosion. If you notice any rust spots, address them promptly to prevent further damage. Use a rust prevention treatment on affected areas to inhibit rust from spreading and protect the metal surface.
Conclusion
Now that you've straightened out your buckled car hood, your vehicle should look and function much better.
Make sure to secure all fasteners and check the alignment to prevent any future issues.
With the right tools and a little elbow grease, you can easily fix a buckled hood and keep your car looking sharp.
Drive safely and enjoy your newly repaired vehicle!